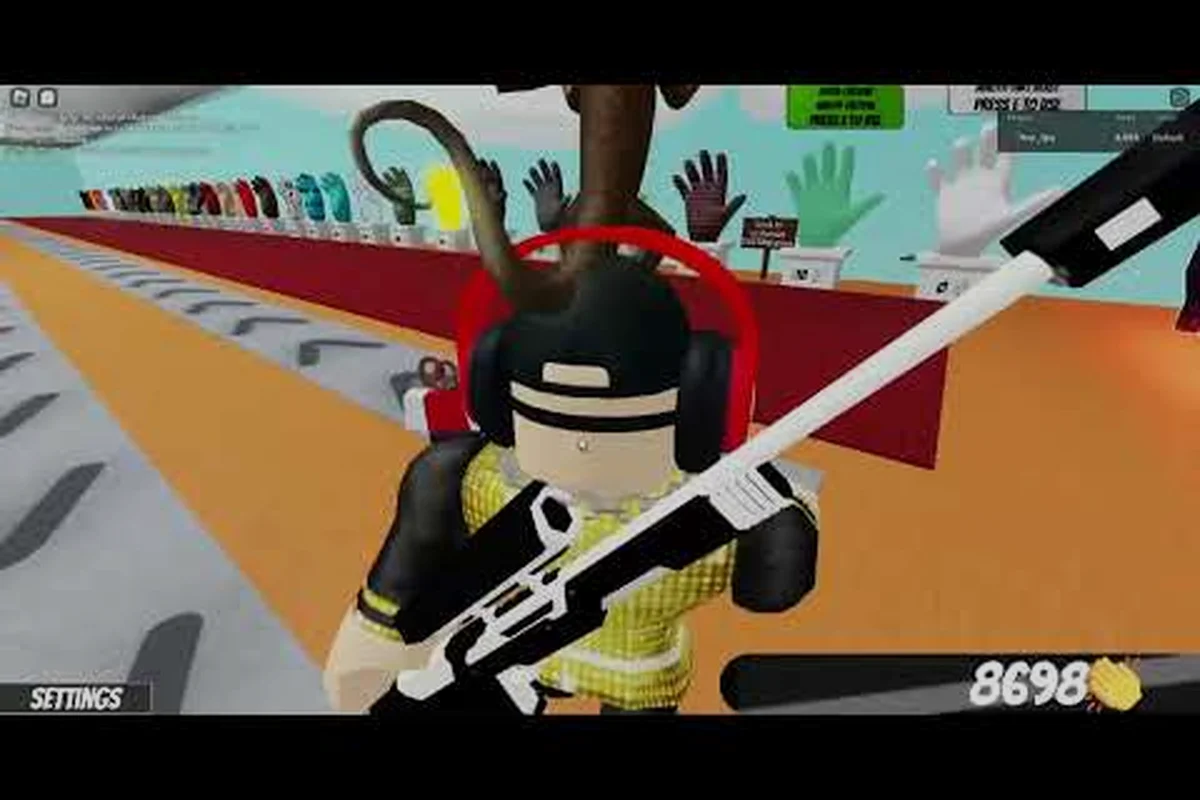
Mastering Slap Battles knockback timing can turn close exchanges into safer knockouts and help you survive longer. Watch the opponent’s approach angle, stun duration, and recovery window rather than reacting to the slap animation itself; a late counter may connect after the knockback begins, while an early swing can be interrupted before it lands. Keep enough space to preserve your defensive options, then attack during the brief opening after their recovery ends to convert a blocked hit into a positional advantage.
Knockback Timing Fundamentals
Knockback timing in Slap Battles is less about reacting to the slap itself and more about recognizing the vulnerable moment after an attack. Every opponent who swings has to complete the movement, deal with the impact, and regain control. If you can predict that rhythm, you can avoid the strongest hit and counter when their position is exposed.
Reading the Three-Stage Exchange
A reliable exchange has three stages: the wind-up, the contact moment, and the recovery window. The wind-up is when the opponent commits to a direction or target. Contact is brief, while the recovery window creates the best opening for a well-timed counter. The exact recovery length may vary by platform, character, and match conditions, so treat it as a practiced cue rather than a fixed timer.
| Exchange stage | What to watch | Best response |
|---|---|---|
| Wind-up | Hand movement, shoulder turn, sudden step | Move away or prepare a guard |
| Contact | Opponent reaches your position | Avoid stepping into the incoming line |
| Recovery | Brief loss of momentum and control | Land a safe counter or create distance |
The key distinction is reaction versus prediction. Reacting to every wind-up leaves little time to protect yourself, because the opponent can alter the angle before the slap lands. A more reliable strategy is to watch the early movement, preserve an escape lane, and use the recovery window to regain initiative.
Why Distance Changes Everything
Distance is the most reliable form of defense. Standing beside a powerful opponent gives you almost no time to react, while a small amount of space makes their attack easier to read. However, excessive distance can make it difficult to land your own counter. The best position is usually one movement away from danger, with enough room to sidestep and enough reach to punish a missed attack.
This connects to the broader Slap Battles positioning guide, which covers how players can manage arena space. For knockback purposes, position is not simply where you stand; it is how many escape routes you preserve when an opponent begins a swing.
Three Timing Principles
-
Read the wind-up: Watch the opponent’s arm and body, because a committed swing often reveals its destination before contact.
-
Protect the recovery: After a blocked or missed hit, move away first; do not remain close enough for an immediate counterattack.
-
Punish only when safe: A recovery opening is valuable, but entering another opponent’s attack range can cancel the advantage.
| Timing principle | Result | Common mistake |
|---|---|---|
| Read the wind-up | Earlier dodge | Watching only the hand |
| Protect the recovery | More control | Trading immediately after contact |
| Punish safely | Cleaner knockouts | Chasing an opponent too far |
Together, these principles form the foundation of the Slap Battles knockback timing guide because each decision links positioning to the timing of a wind-up, recovery, and counterattack. For example, an opponent’s arm may reveal an incoming slap, but that cue only helps if you create enough space for the dodge to finish; otherwise, a missed block can still expose you to immediate knockback. The same rule applies when chasing a staggered opponent: a safe knockout is more valuable than extending the exchange into another attack range. Treat positioning as the cause and controlled knockback as the result, rather than relying on faster reactions alone.
Defensive Timing for Longer Matches
A defensive play guide for Slap Battles should focus on preventing damage rather than waiting for the perfect opening. The longer you remain upright, the more opportunities you receive to observe habits, recover stamina, and force an opponent into a predictable approach.
Create a Defensive Buffer
A defensive buffer is the empty space between you and the opponent’s active reach. Maintaining that space gives you one reaction step before a hit can connect. Instead of moving directly backward whenever an opponent approaches, circle at a slight angle so the gap stays open without drifting into a corner.
This method supports Slap Battles players who want to survive longer because it reduces the number of situations in which you must react instantly. It also preserves your ability to change direction, which is valuable against fast or aggressive opponents.
Choose Your Escape Direction
The safest escape is not always the same. If an opponent stands directly between you and the arena boundary, backing away may trap you. Sliding or circling to the side usually offers more room, although you should watch for another opponent waiting in that direction. This is especially important in crowded fights, where a successful dodge can move you directly into a second attack.
| Situation | Better movement | Reason |
|---|---|---|
| Open space behind you | Backward retreat | Preserves the widest escape lane |
| Opponent near the boundary | Sideways or angled escape | Avoids being pinned |
| Two opponents nearby | Change lanes gradually | Avoids entering the second attack line |
| Opponent misses wide | Short follow-up step | Keeps recovery pressure without overshooting |
Do not treat movement as decorative. Each repositioning step changes the angle of the next exchange, which affects how early you can read an opponent’s wind-up and whether your dodge can send them past you into open space. For example, after forcing a slap to miss wide, use a short angled follow-up rather than a long retreat: that lets you stay within recovery range while avoiding a second opponent’s attack line. A backward retreat may create more distance, but it can also surrender valuable space and reduce your options when a new wind-up begins.
Defend Against Repeated Patterns
Experienced opponents repeat successful patterns because repetition is efficient. Some begin every strong slap with the same step, while others attack immediately after a miss. According to player experience, the most useful defensive information comes from watching what happens after the first exchange, not merely how the opponent attacks.
Record each post-exchange cue on a three-column checklist: the opponent’s setup, the slap’s initial path, and their recovery action. A concrete example is an opponent who opens with a left-foot shuffle and a right-to-left slap, then immediately lunges after a miss; spotting that first shuffle lets you interrupt the rhythm before the knockback line develops, reducing the chance of being caught in the follow-up. This observation method turns the slap battles knockback timing guide into a repeatable defensive routine rather than a reaction based only on the incoming hit.
-
The foot or body movement that starts the attack
-
The direction the slap travels
-
What the opponent does after missing
Treat the repeated cue as a trigger, not a guarantee of the same attack. If an opponent’s left-foot shuffle has preceded several right-to-left slaps, start moving before the arm accelerates and keep enough space to avoid a clean hit; if that shuffle later becomes a feint into the opposite direction, delay your counterattack and reset your spacing. This distinction matters because knockback timing depends on catching the attack during its wind-up, before the slap’s hitbox settles into its knockback line. Track whether the cue always follows the same step, then test the pattern with a cautious sidestep rather than committing to a long escape route.
Mid-Game Positioning and Counters
The middle of a match rewards controlled aggression. You have enough experience to recognize basic patterns, but the opponent may also be improving. A useful Slap Battles mid game guide should therefore balance offensive opportunities with escape routes instead of recommending permanent passivity.
Build a Three-Zone Movement Pattern
Divide the arena mentally into near, middle, and far zones. The near zone is dangerous because an opponent can strike almost immediately. The middle zone offers the best balance between reach and reaction time, while the far zone is useful for resetting after a difficult exchange.
| Zone | Main use | Risk | Recommended action |
|---|---|---|---|
| Near | Quick punish | Very high | Leave unless the counter is immediate |
| Middle | Normal exchanges | Moderate | Best general fighting position |
| Far | Reset and observation | Lower damage potential | Reposition and read the opponent |
| Boundary | Last-resort position | Extreme | Avoid being trapped against the edge |
This pattern makes your movement legible to you. Instead of asking whether to attack or run every second, you decide whether the current zone supports the action you want to take. Most effective counters begin in the middle zone and end with the opponent moving toward the near zone.
Counter After the Safe Recovery
A counter is safest when the opponent has committed, missed, or completed a swing without immediately resetting. Move into range only after confirming that the opponent is not beginning another wind-up. The two-step counter provides a useful rhythm: first take a safe step to create a clean angle, then make the decisive slap if the opponent remains exposed.
| Counter timing | Risk | Best use |
|---|---|---|
| During opponent’s wind-up | Very high | Emergency interruption only |
| At exact contact | High | Risky trades with a clear opening |
| After a completed swing | Moderate | Standard reliable counter |
| After a missed attack | Lower | Strongest general punish |
| After opponent retreats | Low | Slow, low-value chase |
A counter should also account for knockback. Slapping an opponent who is already moving away may produce less useful pressure than striking when they are still close enough to absorb the impact. Preserve the connection, then disengage before they can return a hit.
Use Pressure Without Chasing
Chasing can push you into the arena boundary and give the opponent an easy target. Instead, pressure them toward less useful ground. When they move, reset toward the middle rather than following every step. This makes them spend stamina and time while you remain ready to respond.
The guide to winning Slap Battles matches adds useful offensive context, but the key principle here is simple: every advance should have a retreat path. A player who controls space can choose when a fight continues instead of reacting to every movement.
Endgame Pressure and Match Management
Late-match fights often become tense because both players understand the previous patterns and have fewer opportunities to recover from mistakes. The right endgame approach is not maximum aggression; it is controlled pressure that preserves enough defense to avoid an early knockout.
Change the Pace Deliberately
If your opponent expects repeated forward slaps, switch to a slower rhythm. Pause, adjust your angle, and make the next action less predictable. The rhythm break is valuable because it interrupts a practiced sequence and gives you a fresh read on their movement.
Endgame exchanges become dangerous when both players keep changing speed randomly. Deliberate variation is different because it follows a clear plan: one safe advance, one reset, then a counter only if the opponent commits. This approach is particularly useful in a Slap Battles endgame guide because it prevents a single reckless exchange from deciding the whole match.
Protect Your Recovery Space
After you land a strong slap, do not stand in the same place waiting to hit again. The opponent may be pushed away and immediately return, or another player may enter the space. Move to one side of the impact line, then reassess. Recovery space is the open area that keeps an opponent’s counter from landing immediately after your attack.
| Endgame state | Priority | Better choice |
|---|---|---|
| You landed a clean hit | Preserve the lead | Move to safe recovery space |
| Opponent escaped the boundary | Avoid overextension | Reset to the middle |
| Both players are exhausted | Read the recovery cue | Delay the next committed slap |
| A third player is nearby | Reduce exposure | Circle toward open space |
| Match point is active | Avoid unnecessary trades | Choose high-confidence exchanges |
Survival in this phase depends on controlling knockback timing rather than trading in place. A clean slap creates a brief recovery window: if you hold the impact line, the opponent can answer before you reset, but if you move toward a defensive position near the boundary, their return swing travels farther and exposes more space for a counter. During a long endgame exchange, fatigue can make that spacing error easier to commit, so choosing the safer position can turn a neutral knockback into a meaningful defensive advantage.
Know When Not to Punish
A visible opening is not always worth taking. If the opponent is close to the boundary, they may have little escape room and could turn an otherwise lost exchange into a knockout. If another player is waiting nearby, the same attack can create a three-way collision. The disciplined choice is to preserve the win condition rather than chase an extra hit.
Players in the Slap Battles endgame guide should judge every punish by three questions: Is the landing area safe? Is the opponent likely to recover immediately? Does the hit improve the match outcome enough to justify the risk? If any answer is uncertain, reset.
Knockback Timing Practice Routine
Knowledge becomes useful only when you can apply it during a fast exchange. Deliberate practice can train your recognition of wind-ups and recovery cues without requiring a full match. The routine below turns the slap battles knockback timing guide into observable habits.
Three-Stage Timing Practice
Start with spacing and observation rather than damage. Stand at a safe distance, watch the opponent’s preparation, and identify the earliest reliable signal. Next, move laterally as the attack develops. Finally, use the recovery window for a controlled counter, then immediately leave the impact area.
| Practice stage | Goal | Passing result |
|---|---|---|
| Observe | Identify the wind-up | You predict the attack direction before contact |
| Evade | Preserve distance | The hit passes without forcing a trade |
| Counter | Use the recovery | You land pressure without ending in a vulnerable spot |
| Reset | Re-establish position | You remain ready for the next exchange |
The routine works best when repeated in short sessions. Fatigue can distort your perception, and a tired player may incorrectly label normal repositioning as a wind-up. Short, focused repetitions produce cleaner recognition because you are paying attention to one mechanic at a time.
Review Defensive Mistakes
After a difficult exchange, identify the specific error instead of labeling the entire match as bad. Did you move backward into a corner? Did you panic-counter during a wind-up? Did you remain close after your own slap? A short record of these events makes the next correction easier.
-
Mark late reaction when you move only after contact.
-
Mark no escape lane when the boundary limits your options.
-
Mark greedy punish when you attack into a possible recovery.
-
Mark overcommit when you chase beyond safe range.
| Recorded error | Corrective action | Resulting habit |
|---|---|---|
| Late reaction | Watch the body earlier | Earlier movement |
| No escape lane | Preserve the middle zone | Better positioning |
| Greedy punish | Delay one extra beat | Safer counters |
| Overcommit | Reset after a clean hit | Longer survival |
If controls or movement feel unfamiliar, the Slap Battles beginner guide can help you establish basic control habits before training timing. Once movement is comfortable, focus on one cue and resist trying to solve every exchange at once.
Defensive Play Guide by Match Phase
Your priorities should change as the match develops, but the underlying defensive system should remain consistent. Early on, learn recognition. During the middle phase, control the space between attacks. Near the end, protect the lead and take fewer low-probability risks.
Early Match: Build Recognition
Early exchanges are often used to test movement and discover the opponent’s preferred attack distance. Stay slightly farther away than necessary and watch how they initiate strong slaps. The first-pattern read is valuable because it can reveal whether an opponent favors straight attacks, side swings, or sudden forward steps.
Middle Match: Control the Middle
Once the opponent’s pattern is visible, make them cross the middle zone on their terms. Retreat when they have space to accelerate and remain firm when they have none. The goal is not to avoid every exchange; it is to make the opponent spend more effort reaching you.
Late Match: Preserve the Lead
A player who is ahead should usually demand a clean commitment from the opponent. A player behind can take a calculated risk, but should still avoid attacks without a defined opening. This phase rewards restraint because one missed defensive read can erase the advantage built during earlier exchanges.
| Match phase | Main defensive goal | Aggression level | Best cue to watch |
|---|---|---|---|
| Early | Learn opponent habits | Low | Wind-up and preferred range |
| Middle | Control central space | Medium | Recovery after completed swings |
| Late | Protect a narrow lead | Selective | Repeated setup before commitment |
This phase-based approach keeps a Slap Battles mid game guide practical because it prevents a single rule from being applied to every situation. It also supports players seeking to survive longer, since each phase has a different risk profile.
Frequently Asked Questions
What is the best way to improve Slap Battles knockback timing?
Improve your timing by watching the opponent’s wind-up, preserving a small buffer, and using the recovery after a completed swing. The most useful practice is to identify one early movement cue rather than trying to track every part of the animation. Keep your escape route open so a mistimed counter does not become a forced trade.
How can I survive longer when an opponent keeps rushing forward?
Move diagonally instead of retreating directly, because a forward rusher closes straight gaps faster than angled space. Let the first attack pass, then re-enter range only after their momentum slows. If the arena boundary is near, prioritize lateral movement and avoid the near zone entirely, even if a counter looks possible.
Should I punish every missed slap in Slap Battles?
No, because a missed slap is safe to punish only when the opponent cannot recover, another player is not waiting nearby, and the impact zone remains open. Late-match opponents may continue attacking immediately, while boundary pressure can remove their escape options. Check all three conditions before stepping into range, and reset if any one is unclear.
Does defending passively work in the middle of a match?
Pure passivity is rarely effective because it gives the opponent time to dictate the exchange. Instead, alternate controlled passivity with deliberate counterpressure. Hold the middle zone, punish a clear recovery, and then reset. This variation makes your defense harder to read while still creating enough openings to avoid a long stalemate.
What is the safest way to land a knockback counter?
Approach from a slight angle after the opponent’s swing is complete, keep the landing area clear, and avoid stepping directly into their return path. A short, decisive slap is safer than a long chase. Once the hit lands, move into recovery space immediately, because staying beside a staggered opponent can leave you exposed to an immediate reversal.